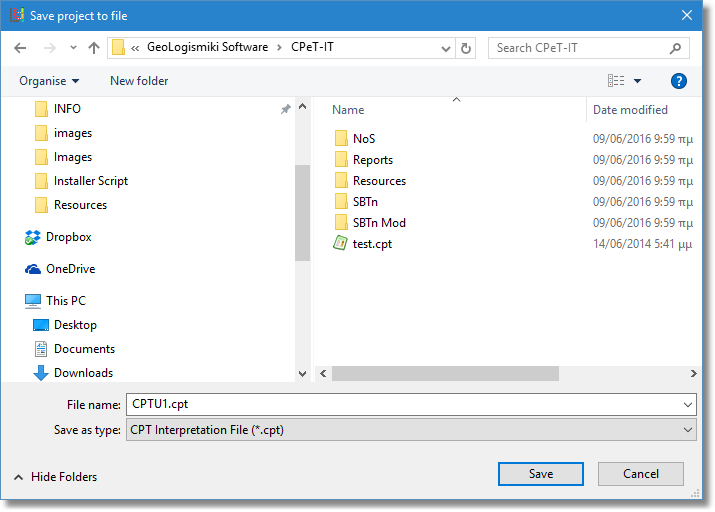
To save a project and all the CPTU data entered just click on the menu and select the Save Project command (alternatively you may click on the  button located on the main toolbar). The standard Windows save dialog will appear:

Save project dialog
Browse to the directory you wish to save the file. Enter a name on the File name field and click on the Save button. The above dialog will be displayed only once, the first time you try to save a new project. If you need to rename a previously saved project select the Save As... command form the File menu. The above dialog will appear again and you can now define the new name and location of the project file.